Documentation | Blog | Demos | Support
-
Laptops
-
Playstation
-
Musical Instruments
-
Photography
-
Cell Phones
Know Your Camera
How to use a Camera
STEP 1 Turning on the Camera
The first step to using a digital camera is simply turning the device on. Most cameras have a small on button located somewhere on the side of the camera. If you don't see your camera's on button, read your manufacturer's instructions. They should explain how to find the on button.
Most digital cameras have to charge. If your camera's battery is dead, it will not turn on. Don't panic if your camera is not turning on. Usually, a charger comes with the camera. The charger plugs into the wall and then into your camera. In the event your camera does not turn on, try plugging it into the charger, waiting a few minutes, and then trying again.
.
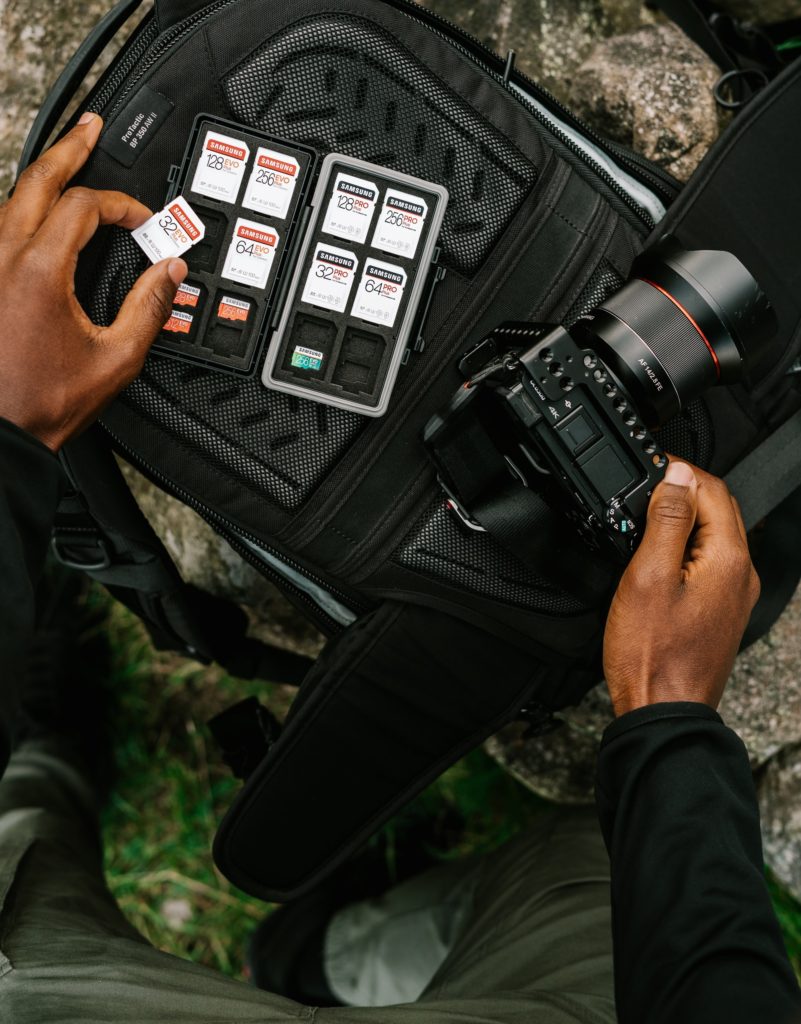
STEP 2 Insert a memory card.
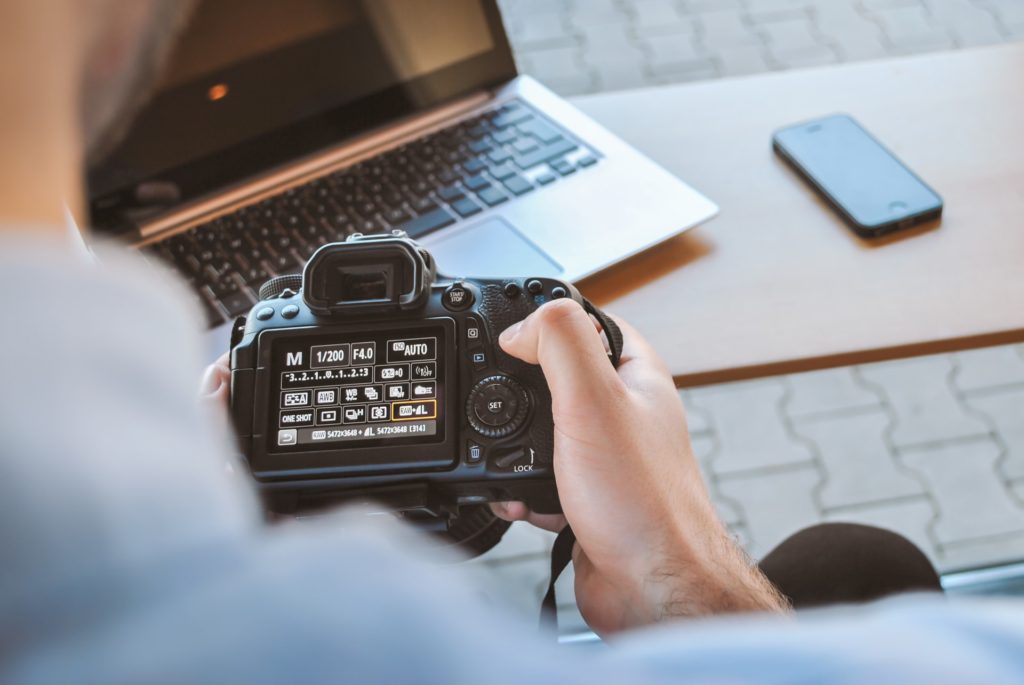
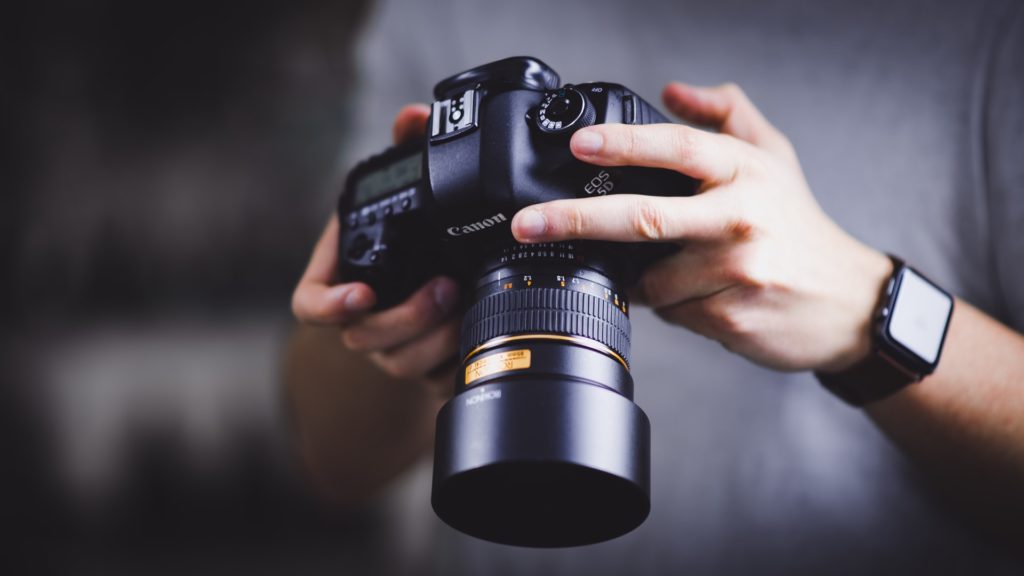
Digital cameras come with a variety of buttons. You should spend some time familiarizing yourself with what these buttons do. Some buttons help you zoom in and take pictures. Others allow you to adjust settings on your camera.
The shutter button is a small button, usually on the top right corner of the camera, you press down when taking a picture. The zoom button is usually a long line, which you toggle back and forth to zoom in and out on a subject. These are the basic buttons you need to take a picture.[2]
The "mode" button is usually a rectangular button labeled "mode." You press down on this button to switch from picture mode to video mode, in the event you want to shoot videos. A rectangular button labeled "menu" allows you to switch the settings on your camera. You usually navigate through the menu mode with the hep of a scroll wheel you rotate to select and adjust settings.[3]
A triangle-shaped button, much like the play button on your VCR, allows you to playback pictures you just took. You can scroll through pictures using the scroll wheel.[4]
STEP 3 Familiarize yourself with the buttons

Digital cameras come with a variety of buttons. You should spend some time familiarizing yourself with what these buttons do. Some buttons help you zoom in and take pictures. Others allow you to adjust settings on your camera.
The shutter button is a small button, usually on the top right corner of the camera, you press down when taking a picture. The zoom button is usually a long line, which you toggle back and forth to zoom in and out on a subject. These are the basic buttons you need to take a picture.[2]
The "mode" button is usually a rectangular button labeled "mode." You press down on this button to switch from picture mode to video mode, in the event you want to shoot videos. A rectangular button labeled "menu" allows you to switch the settings on your camera. You usually navigate through the menu mode with the hep of a scroll wheel you rotate to select and adjust settings.[3]
A triangle-shaped button, much like the play button on your VCR, allows you to playback pictures you just took. You can scroll through pictures using the scroll wheel.[4]
STEP 4 Take a few pictures.
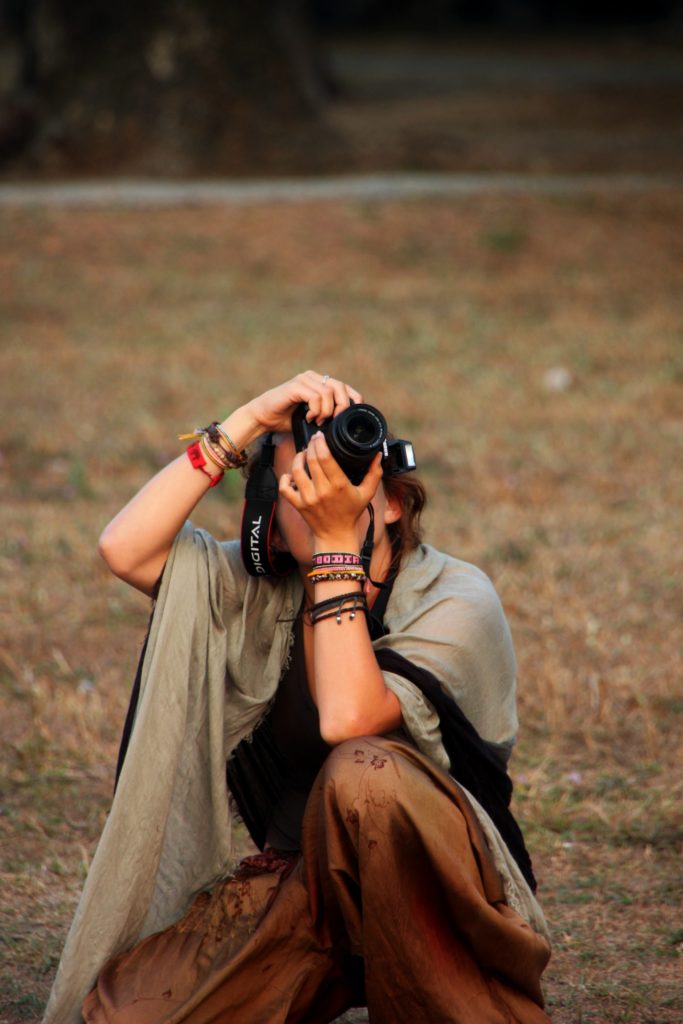
If you want to start using your camera, begin by taking a few pictures. Choose a subject, like a landscape or a pet, focus your camera for a moment, and then press the shutter button. The camera should capture this image. To get the hang of using your digital camera, take a few pictures around your house.

0.5 out of 5 stars
1 rating
| 5 Stars | 0% | |
| 4 Stars | 0% | |
| 3 Stars | 0% | |
| 2 Stars | 0% | |
| 1 Stars | 100% |


